How a Horn is Made
Craftsmanship
Bell details
We took a quick look at the manufacturing process, but here we will look at the techniques used by master craftsmen.
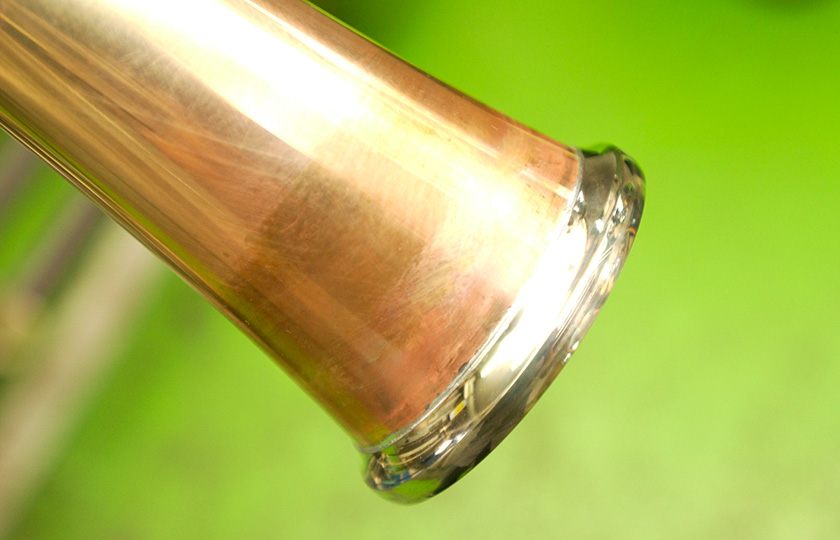
When the bell is cut, it leaves a rough, sharp edge. The picture shows the process of applying the bell wire, a round brass wire used as a core around which the bell edge is wrapped. This wire makes it easy to form a round edge, and makes the rim stronger.
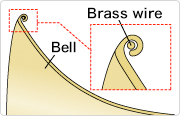
The bell wire is round
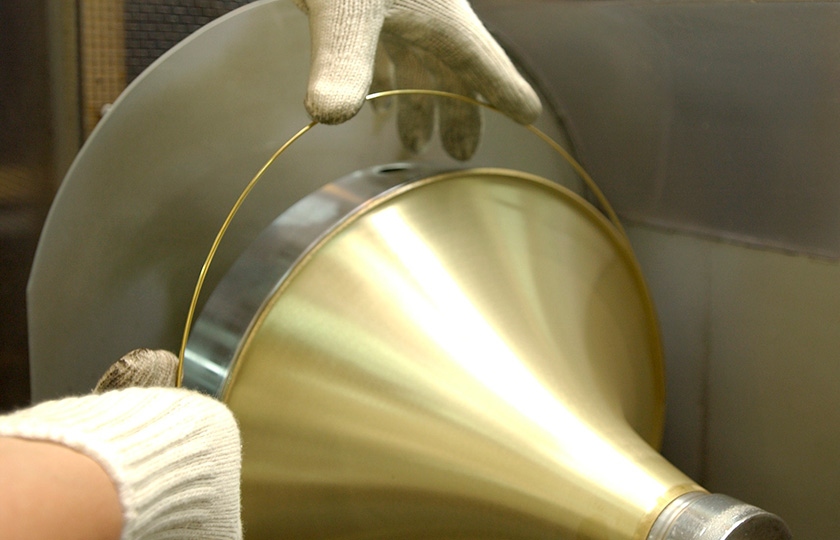
Applying the bell wire to a partially folded bell
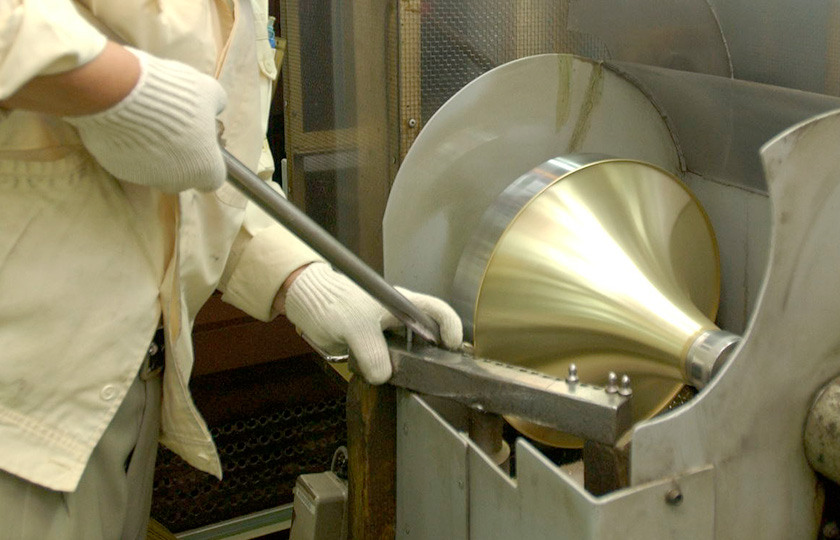
A craftsman applying a bell wire
Attaching the bell screw
The attachment of the bell screw is shown in the picture. Solder is precisely applied with a torch.
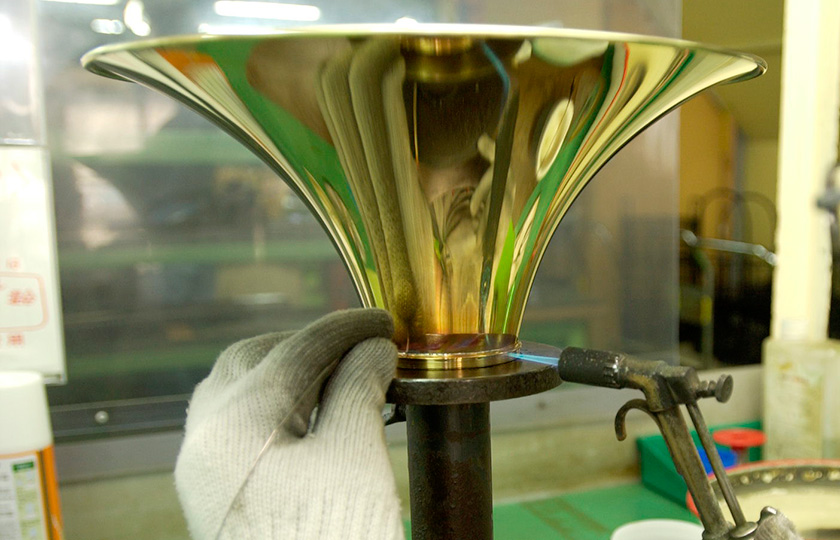
Soldering the bell screw
The bell in the photograph below is a detachable bell, and so it is shorter than a non-detachable bell section. A detachable bell can be removed for convenience when transporting the instrument.
The bell in the photograph below is a detachable bell, and so it is shorter than a non-detachable bell section. A detachable bell can be removed for convenience when transporting the instrument.

Left: Female screw for the bell. Right: Male screw for the bell stem.
A silver-colored screw on the bell stem
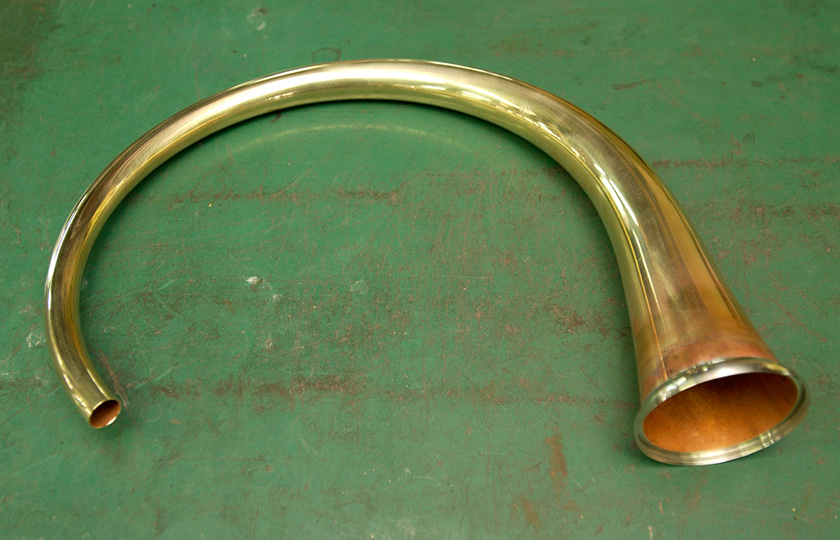
A beautifully curved bell stem. This piece alone looks playable.
Precision tooled rotors
Here the craftsman is applying solder to the valve casing. This photograph shows the valve of a tuba, not a horn, but the process is the same, even though the parts are different. The grey paste inside the container is silver solder, which contains melted metal (originally silver), and it is being applied between the casing and the knuckles. Valves are made of yellow brass or nickel silver.
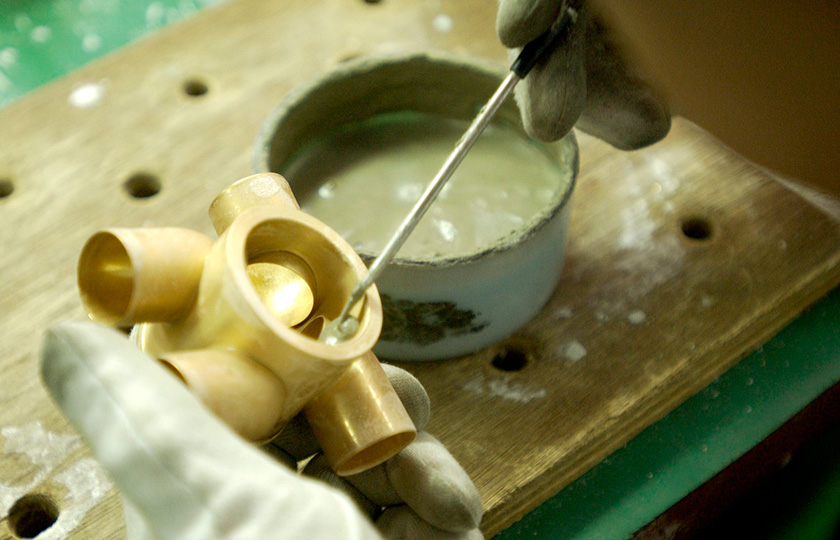
Applying solder paste to the brass valve
What happens after solder is applied?
Electromagnetic waves are used to heat and melt the solder to make a solid joint. As can be seen in the picture, the metal becomes red-hot. A high-voltage current runs through the metal, raising its temperature and turning it red. Compare this with the golden color of the piece in the foreground.
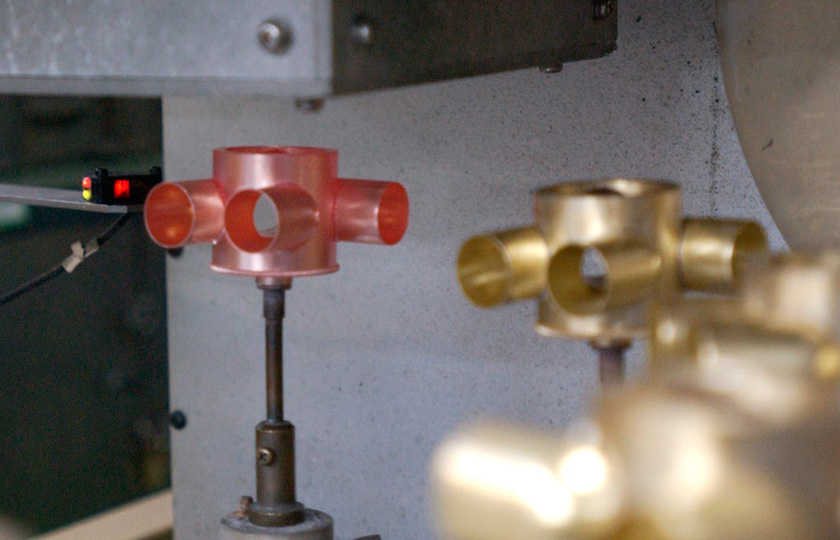
Using an electromagnetic wave to heat and melt solder
After this process is finished, the protruding parts of the knuckles are removed and the casing is adjusted to accept the piston. This is a rotary valve for a horn. A single valve is made up of many parts. As can be seen, both the casing and the rotor taper from left to right.
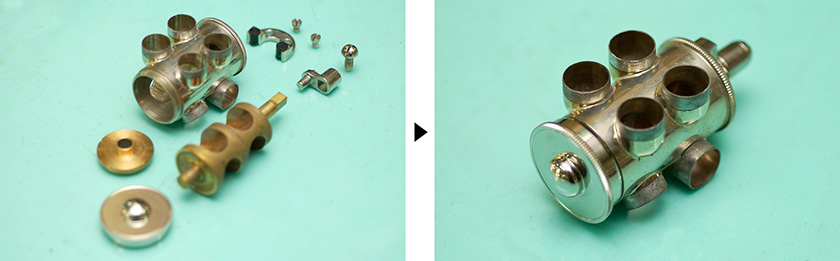
There are a lot of parts in a rotary valve. The casing can be seen in the top of the photograph on the left, while that on the right shows an assembled valve.
The lapping process grinds both the casing and the rotor so that they fit precisely. An abrasive is applied and they are slowly fitted together. If there is a gap of more than 10 microns, the air seal will be broken and the sound will leak, so the space between the two parts is between 5 and 7.5 microns.
These fine adjustments are the most difficult and cannot be performed by machine. The sense and skill of a human being is more precise. Before the casing and rotor get to this stage, there is a very minute variation in their dimensions. They are then fitted together here to make a perfectly matching pair.
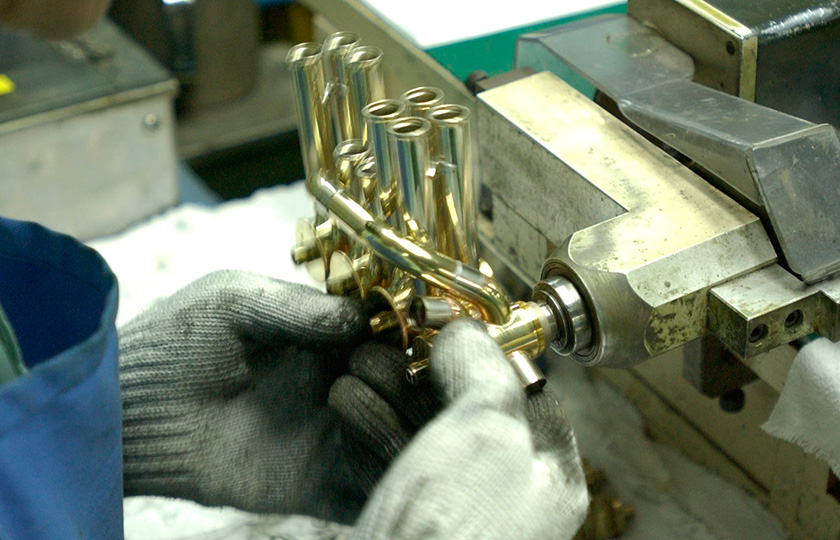
Lapping process in which the casing and rotor are matched.
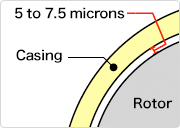
A very small space between the rotor and the casing
Precision work till the very end
This room is where the assembly and final adjustments are made. The rotor is adjusted, the insides washed, and parts fitted with micron-level precision so that the rotor rotates smoothly without any sound.
A clicking sound occurs when the rotor moves up and down, but if this movement is adjusted to within 3 to 10 microns, no sound is produced.
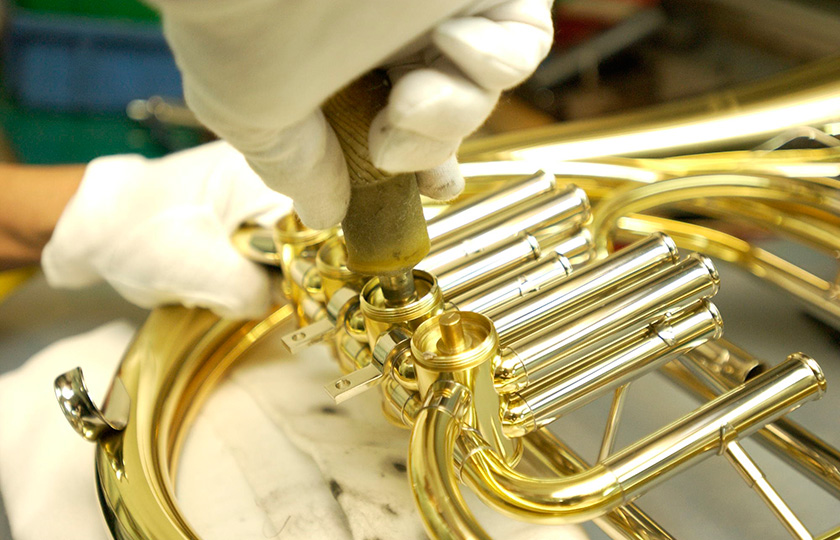
Final adjustment of the rotor so that they function smoothly
During the most important inspection process, a careful check is made to ensure that there are no small dents, that there is no dust, and that there are no air leaks. The inspector checks all the instruments made that day, so this person must have a vast knowledge of these instruments. The final stage is a test-play, so the inspector must know how to play any instrument. It is a huge responsibility.
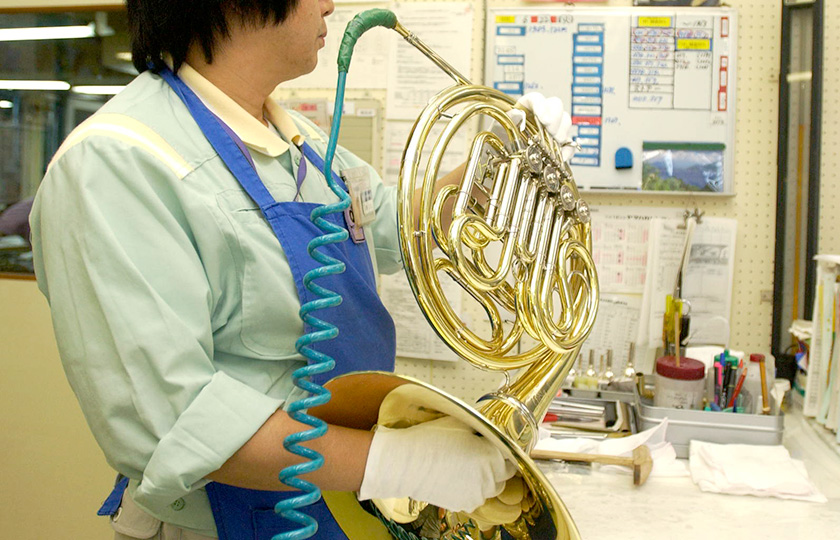
Checking for air leaks
Musical Instrument Guide : Horn Contents
Origins
Structure
How to Play
How the Instrument is Made
Choosing an Instrument
Trivia
- Famous horn works
- Concertos
- Mesmerizing fifths
- What does a very long horn sound like?
- The visual effect of "bells up"
- Mozart loved a good prank
- Is that the nature of the horn?
- An instrument by day, and a drinking mug by night
- Horn players can play the Wagner tuba, despite the name
- Why are horns included in woodwind quintets?
- What do you call someone who plays a horn?
- The reason that alto horns are used in brass bands
- What is a Vienna horn?
- Garlands do not deaden sound
- What is the Knopf model?
- New instruments have just been washed