How a Horn is Made
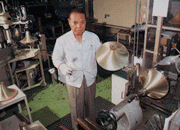
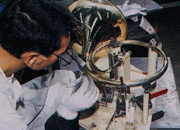
Visiting a horn factory
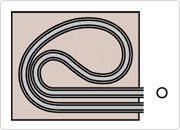
Design by computer simulation
Yamaha began full-scale development of wind instruments in 1963. It has fully preserved its traditional technology, aimed to produce top-quality products, and established the Yamaha brand as one of the best in the world. Having begun acoustic research in around 1967, Yamaha quickly adopted a tubular shape based on the results obtained, and revolutionized the wind instrument sound using a precise design created using computer simulation.
A fusion of craftsmanship and new technology enabled the mass production of musical instruments of a consistent pitch-that is, the creation of products of uniformly high quality.
Computer simulation was fully utilized to create precise body designs. In these designs close attention is also paid to the product materials and processing methods, in order to produce consistent pitch and beautiful timbres.
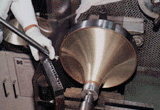
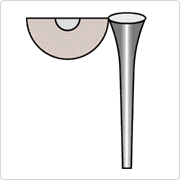
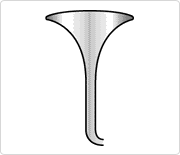
Making the bell
Shaping the bell
A circle is cut out of a brass plate and then a spatula is used on a spinning former to shape the brass into a bell.
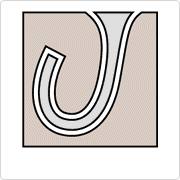
Curling
A wire is crimped into the outer edge of the bell.
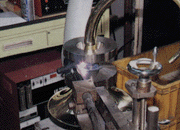
Welding the bell stem
The brass sheet is cut into a fan shape, and the two edges are matched up and welded together, and then a core bar is inserted and the bell is manually rounded. Then, a roller is used on the weld to smooth it.
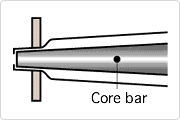
Drawing the bell stem
A core bar is inserted into the bell stem, which is then drawn to form a tapered tube.
Ice bending the bell stem
After the bell stem is drawn, it is filled with water and frozen, and then it is bent by pushing it onto a die.
Bulging process on the bell stem
The final shape is created using precision water pressure forming.
Welding the bell and the bell stem
The bell and the bell stem are welded, and smoothed with a spatula.
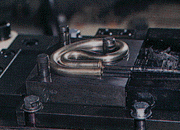
Making a tapered tube
Drawing
Just as with the bell, the inner diameter of a straight brass pipe is made wider and narrower to create a tapered shape, and then the pipe is drawn.
Ice bending
Just as with the bell stem, water is put into the drawn tapered pipe and frozen, and then the tube is bent by pushing it onto a die.
Bulging process
Just as with the bell, stem precision water pressure forming is used to create the final shape.
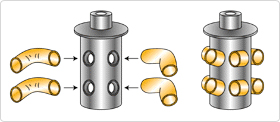
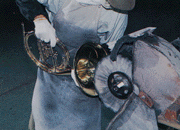
Making the rotary valve (valve casing)
Lathe processing
A computer-controlled lathe is used to cut valve casings from a brass bar.
Ball shaping
Ball bearings are pushed through the branch tubes to make them the proper shape.
Brazing
The knuckles are soldered to the valve casing. The soldering flux is carefully washed away, and the threaded section and internal taper are machined carefully.
Making the rotary valves
Lathing
A computer-controlled lathe is used to carve rotors from a brass bar.
Lapping
Lapping the valve casings
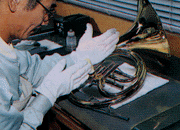
Assembly and finishing!
Solder assembly
Care is taken not to apply too much force at the solder assembly stage.
Polishing
Next, an abrasive is applied to the buffing cloth and the surface of the tube is buffed.
Lacquering
Before lacquering starts, the instrument is washed and placed in a dust-free room, where electrostatic coating is used to apply lacquer.
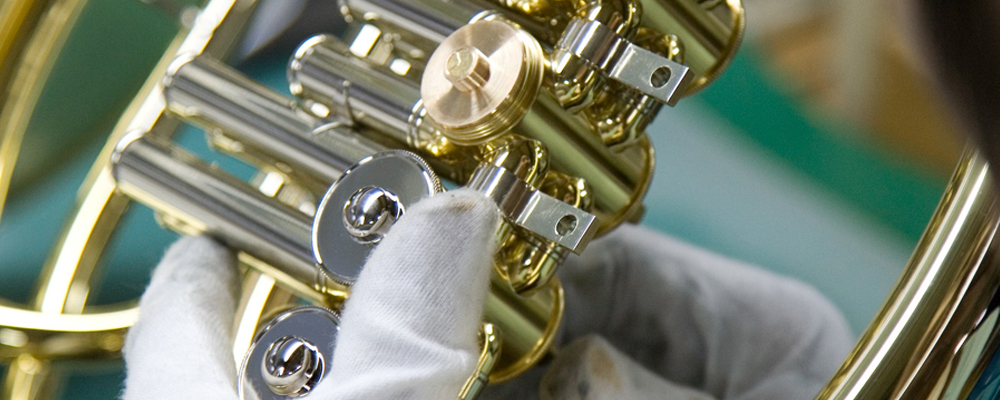
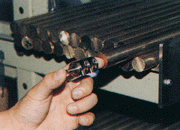
Assembling and adjusting the rotors
The rotation and depth of the rotary valves are checked and adjusted by hand.
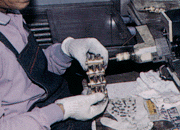
Inspection (appearance, function, air test)
The air-leak test checks for leaks, a strobe tuner is used to adjust the pitch, and other functional tests are performed before the final performance test and shipping.
Musical Instrument Guide : Horn Contents
Origins
Structure
How to Play
How the Instrument is Made
Choosing an Instrument
Trivia
- Famous horn works
- Concertos
- Mesmerizing fifths
- What does a very long horn sound like?
- The visual effect of "bells up"
- Mozart loved a good prank
- Is that the nature of the horn?
- An instrument by day, and a drinking mug by night
- Horn players can play the Wagner tuba, despite the name
- Why are horns included in woodwind quintets?
- What do you call someone who plays a horn?
- The reason that alto horns are used in brass bands
- What is a Vienna horn?
- Garlands do not deaden sound
- What is the Knopf model?
- New instruments have just been washed