How a Drum is Made
Making the shell
What wood is used?
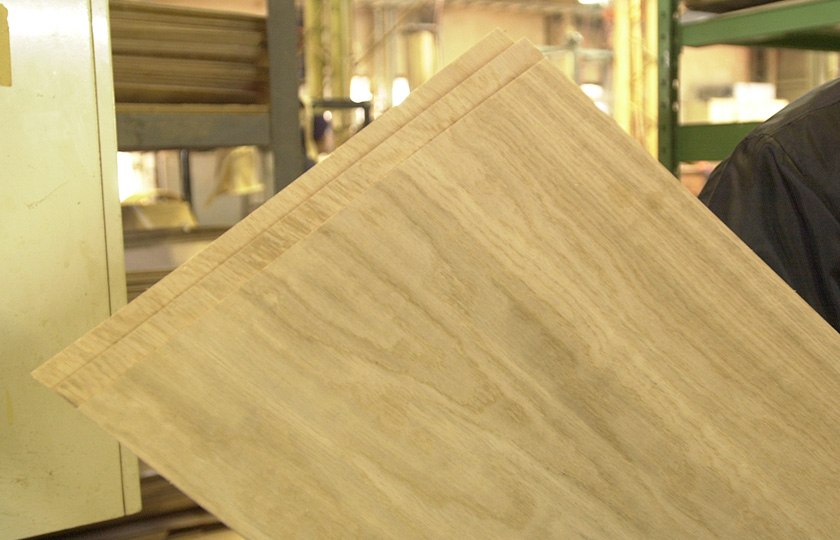
Drum shells are made from birch, beech, maple, and oak, among other types of wood and materials. They use two-ply and three-ply plywood.
From the left: oak, beech, birch, and maple plywood.
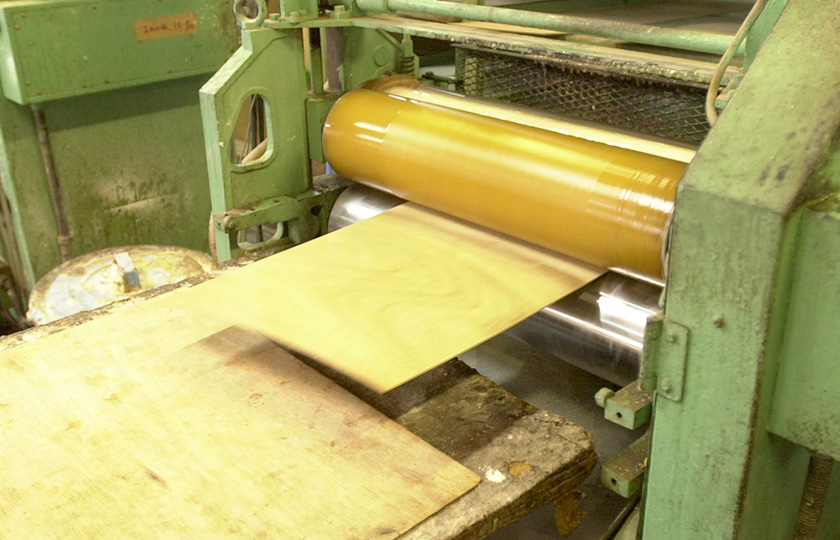
Plywood is made up of several thin layers of wood laminated together. These boards are sliced from the trunk of a tree in thin sheets. Two-ply plywood uses two sheets, and drum shells are made with anything from six-ply to ten-ply plywood. The outer ply is commonly set with the grain running horizontally. The other plies are set with the grain alternating from vertical to horizontal.
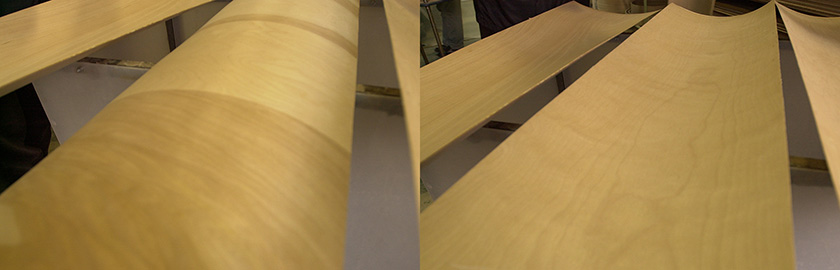
Maple plywood. The grain of the outer and inner surfaces runs in different directions.
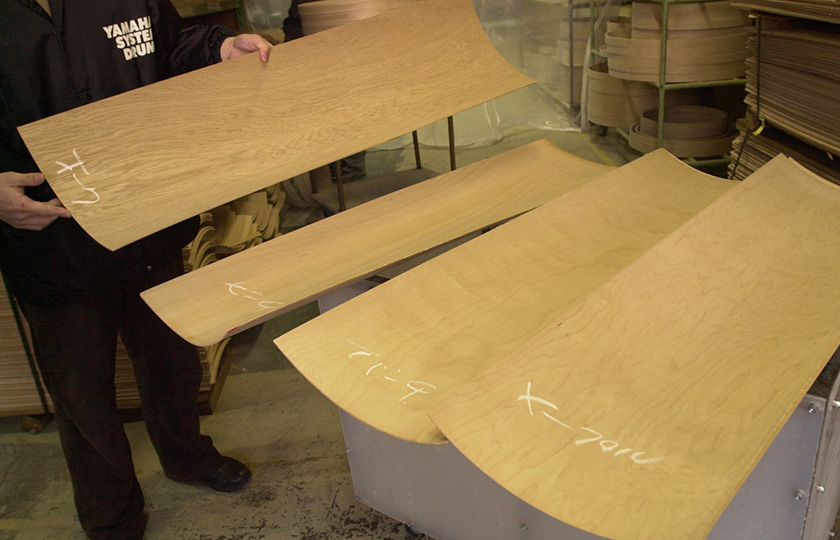
For a six-ply tom-tom, three pieces of two-ply plywood are selected, the top and bottom pieces cut, and the side is cut at an angle. The circumferences of the inner shell pieces are shorter, so these pieces are cut shorter.
Three pieces of plywood cut into parallelograms of differing lengths
Drum kits are comprised of multiple drums that should have the same color and exterior finish, so plywood of the same type and color are selected. Later, they will be varnished, but the color of different materials will be noticeably different, particularly when using semi-transparent varnish, so the material selection step requires great care.
Making the wood perfectly round
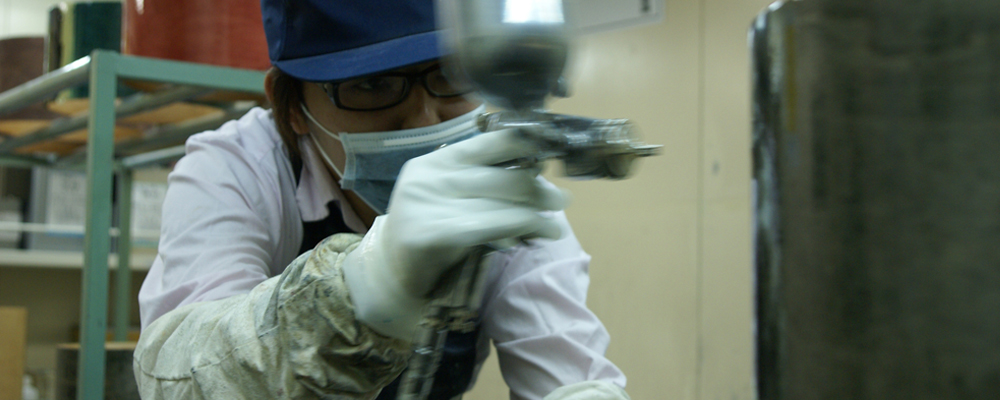
Applying adhesive using a machine
Next, adhesive is applied and the wood is molded. An exceptionally strong adhesive is applied to one side of the exterior board and interior boards, and both sides of the middle board.
After the adhesive is applied, the wood is bent and quickly inserted into a mold. The wood is completely pressed tightly into the mold so that even if the wood shrinks a little bit, the body will not be warped, and there will be no spaces in the joints. The adhesive begins to dry immediately, so as soon as one layer is completed, the next is knocked into place. The joints are equally spaced. Speed is of the utmost importance in this process.
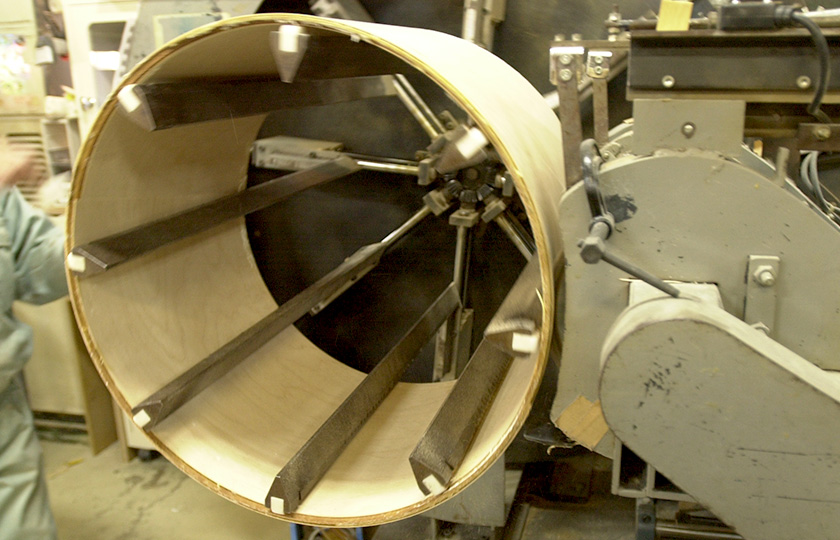
After the pieces are inserted, an air bag is inserted into the middle and filled with air to press the pieces against the mold. This is called airbag molding. A special tool that looks like an inner tube puts pressure on the drum to make a perfectly round shell.
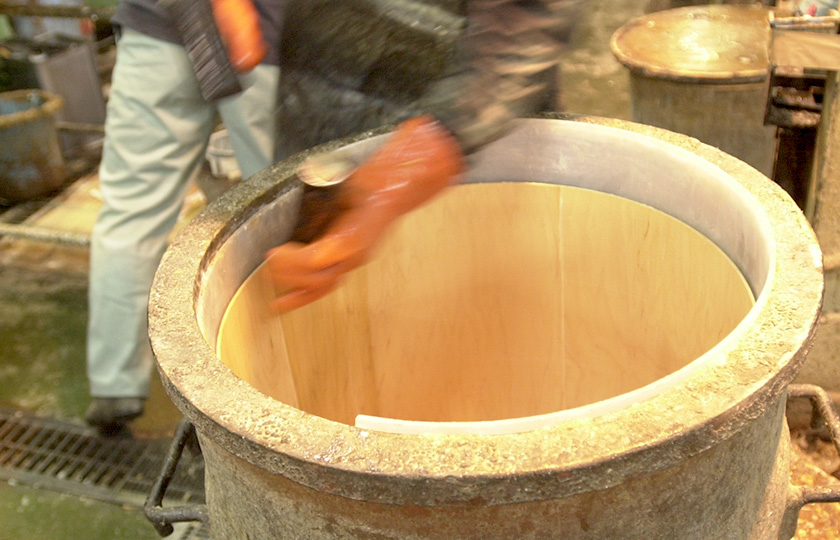
The first layer is knocked into a warm mold.
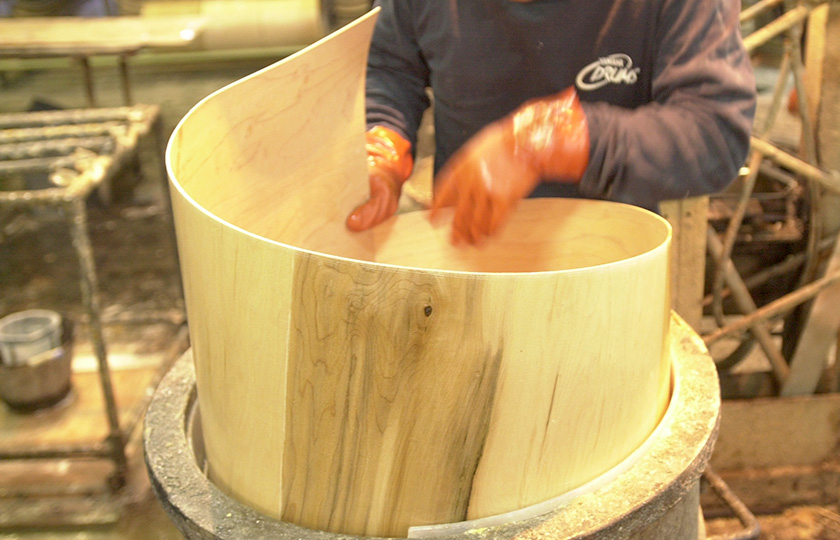
Inserting the second layer, hammer at the ready
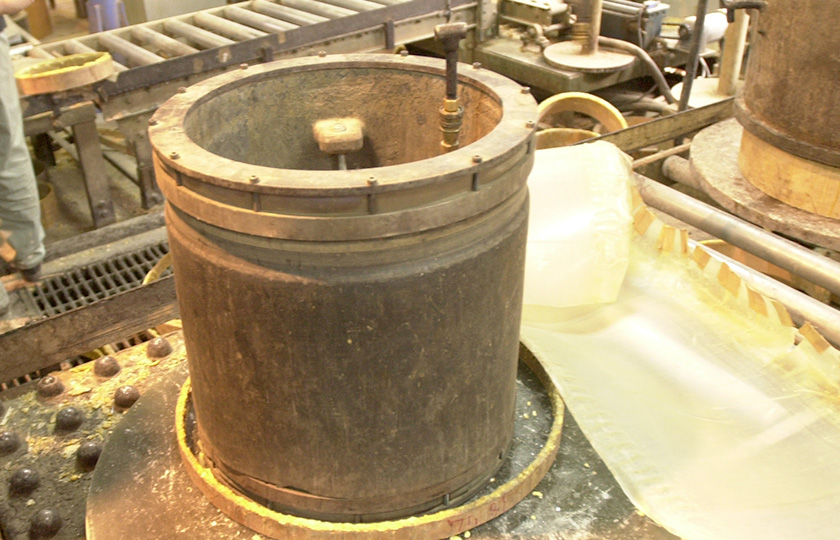
The airbag molding tool has a black rubber piece that swells with air.
After the pieces are inserted, an air bag is inserted into the middle and filled with air to press the pieces against the mold. This is called airbag molding. A special tool that looks like an inner tube puts pressure on the drum to make a perfectly round shell.
Once the material is stable in the mold, it is put into a huge microwave oven for drying. If the shell were dried in a heater, the wood and adhesive would also be heated, damaging the shell, but microwaves only heat water, so the material itself is not damaged. The rounded form is shown here.
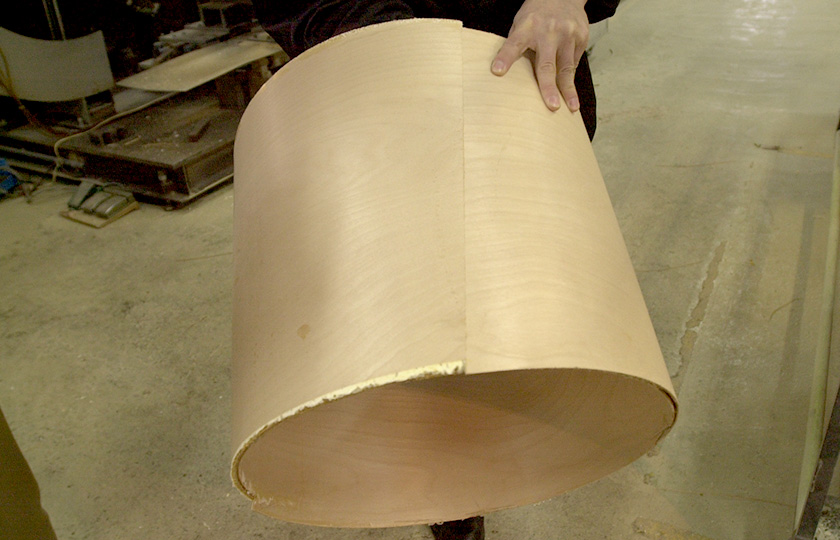
A round shell. The gold color is adhesive.
This shell will be finished when it is cut to the size of a specific product.
Both ends of the shell will be cut so that they are parallel.