How a Timpani is Made
The road to finishing a timpani kettle
What is the kettle made of?
The timpani kettle is made of copper. Fiber-reinforced plastic (FRP) and aluminum are also used to make some kettles. Copper has properties that make it easy to stretch and shape, and allows sound to resonate, so it has been used in timpani kettles for a long time. However, the way the kettle is made has changed from the past to now.
Copper can be easily stretched out and shaped to create a timpani shell with deep sound and long sustain, and has been used for timpani kettles since the past. However, the method of manufacturing the kettle has changed completely over time.
Cutting a copper plate into the shape of a kettle
First of all, a flat copper plate several millimeters thick is fitted to the size of the kettle to be made and cut in a round shape.

As the copper plate is cut in a round shape.
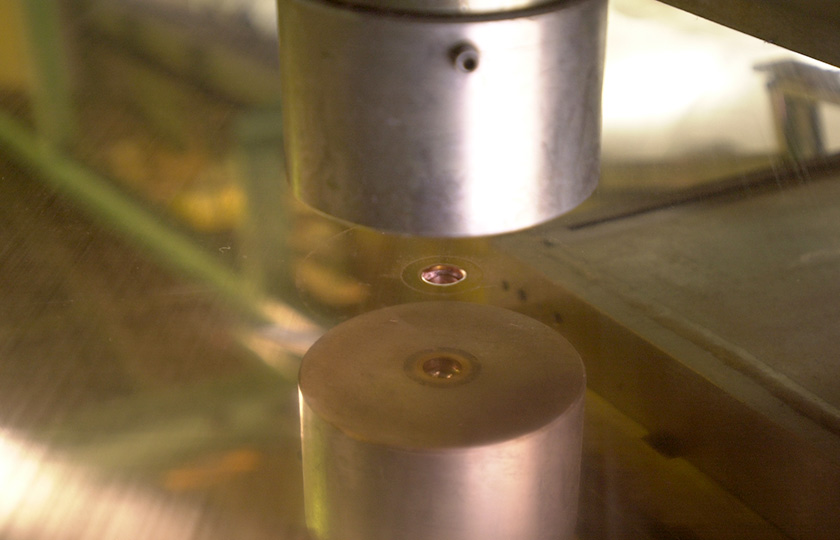
A hole opens in the center.
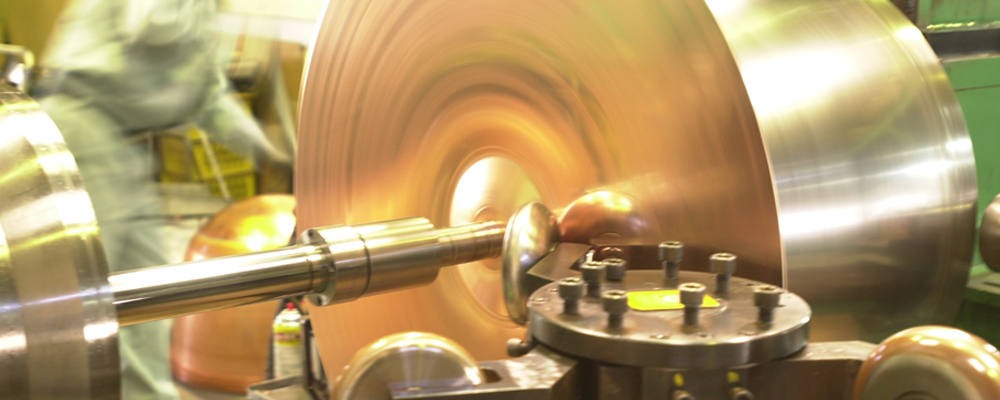
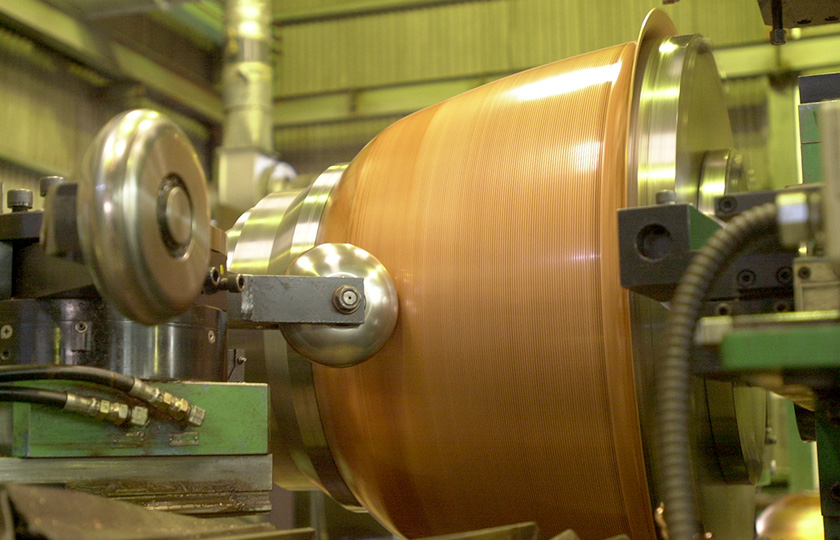
Next comes the process of metal spinning. The flat copper plate and round mold are spun lengthwise on a large machine, and a roller is used to press the copper plate onto the mold. The plate eventually assumes a round shape.
Setting the copper plate onto the machine
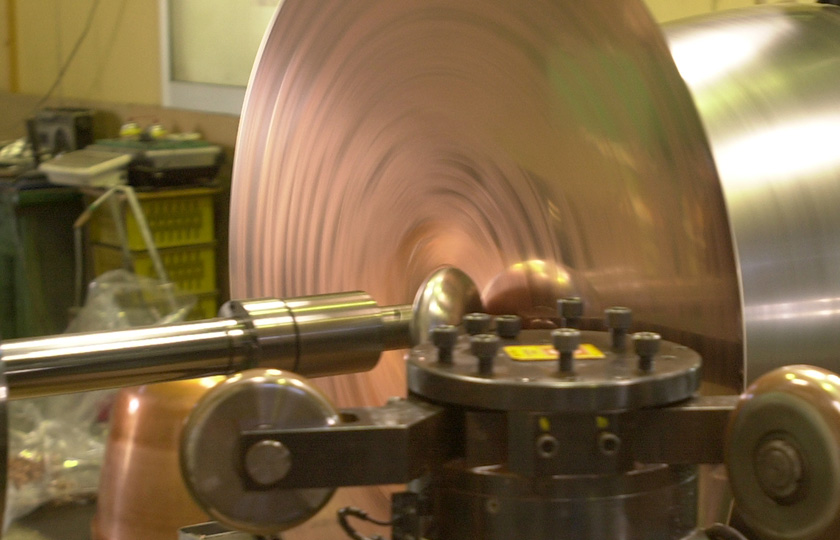
Plate becomes gradually rounder
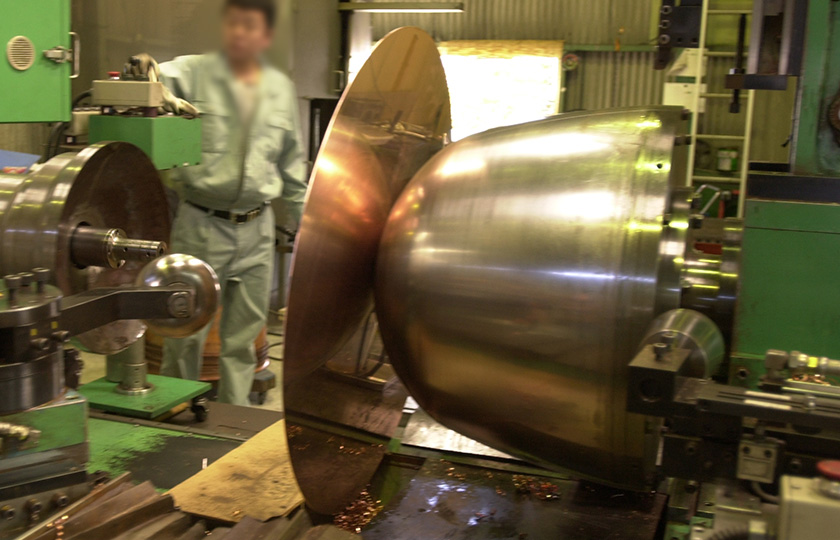
Once the plate has started to take shape, it is removed from the machine and annealed. This is necessary in order to avoid wrinkles and cracks in the plate, as copper work hardens quickly.
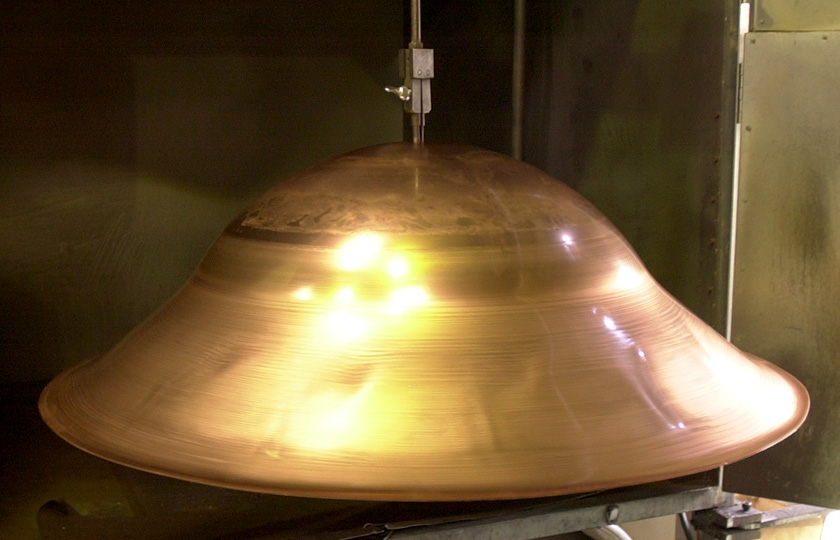
The partially-machined kettle looks like a UFO!
What is "work hardening"?
Although copper is a rather soft material, it transforms into a harder substance once it is machined. This is called "work hardening." For instance, if you were to bend and straighten a wire over and over again, it would eventually break. When you stress a material by processing or machining it, work hardening occurs. Because of this, the material must be heated with flame to soften it during processing.
The nearly completed kettle. An edge at a right angle will be added
From annealing to inner face polishing and coating
Once the kettle has been formed, it is annealed again, and the form is stabilized by releasing the force pressing upon it to return it to its previous shape. When the shell is heated, it reacts with the oxygen in the air, creating an oxidation layer, and causing a mottled color on the surface. However, this mottling can be cleanly removed by polishing. The shell is then buffed to create a smooth surface.
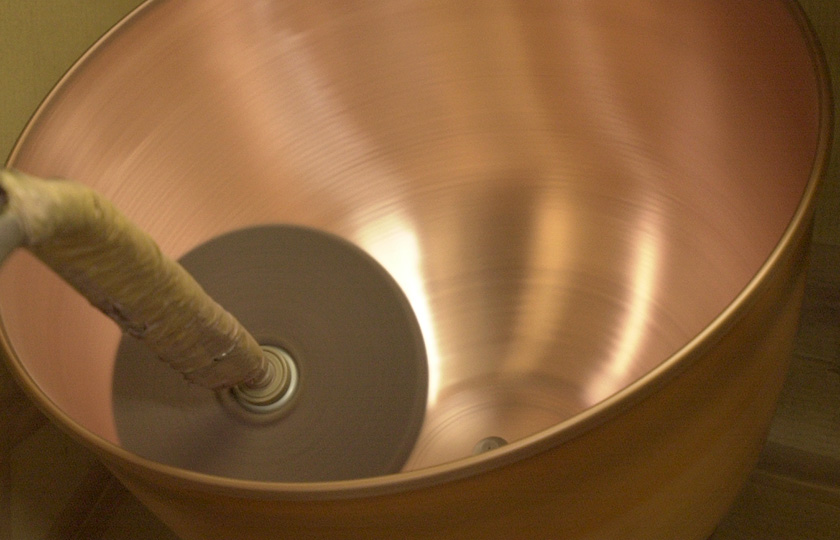
Polishing the inside

The outside is polished while changing the sandpaper
Now, it is time for polishing. When a timpani is played, the air inside the kettle vibrates as well. Polishing the inside of the kettle to make it smooth gives the timpani a crisp sound with sharp attack.
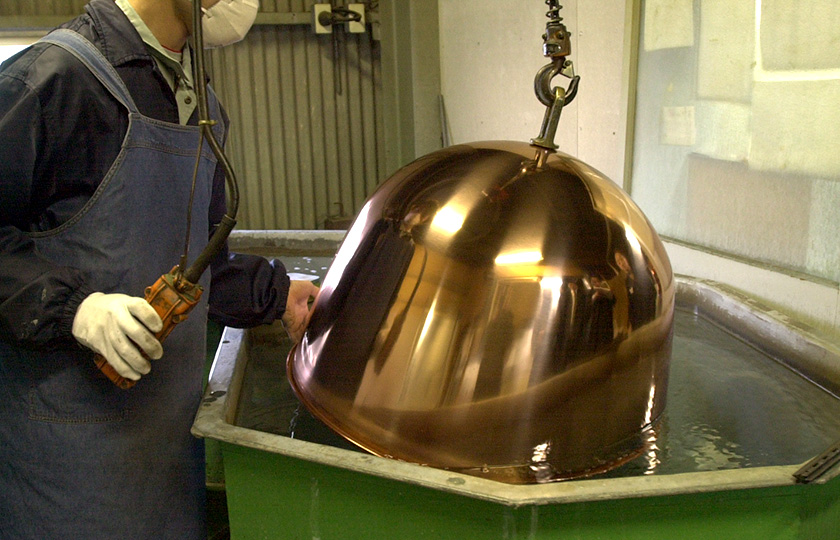
The kettle is hung up on a chain and cleaned
Next, the kettle is cleaned. A jig is attached to the hole in the round bottom of the kettle, and the kettle is hung and dipped into a vat of water for washing. Air inside is let out as the kettle is quickly moved up and down to wash it.
After this, any moisture on the surface is wiped off, and the kettle is hung up to dry in the air. Once dry, it is coated, using a clear coat in a dust-proof environment. At last our shiny new kettle is complete!
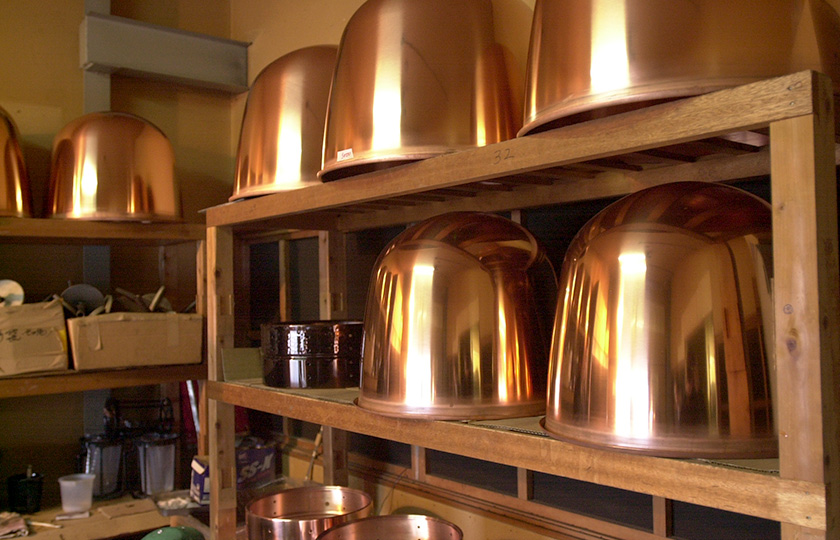
Coated copper kettles
Why is the kettle hammered to make it harder?
On some kettles called hammered kettles, a hammer is used to beat and harden the entire surface.
Hardening the material of the kettle makes the pitch sound even clearer.
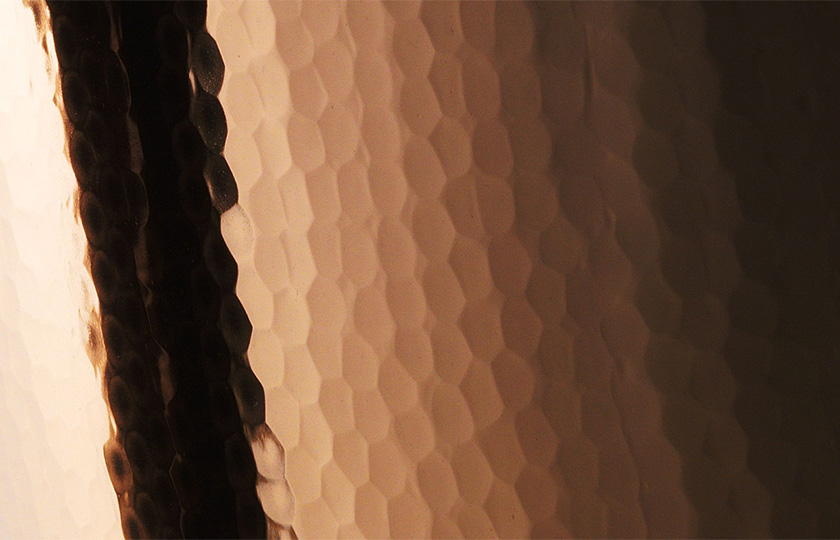
Hardening the material of the kettle makes the pitch sound even clearer
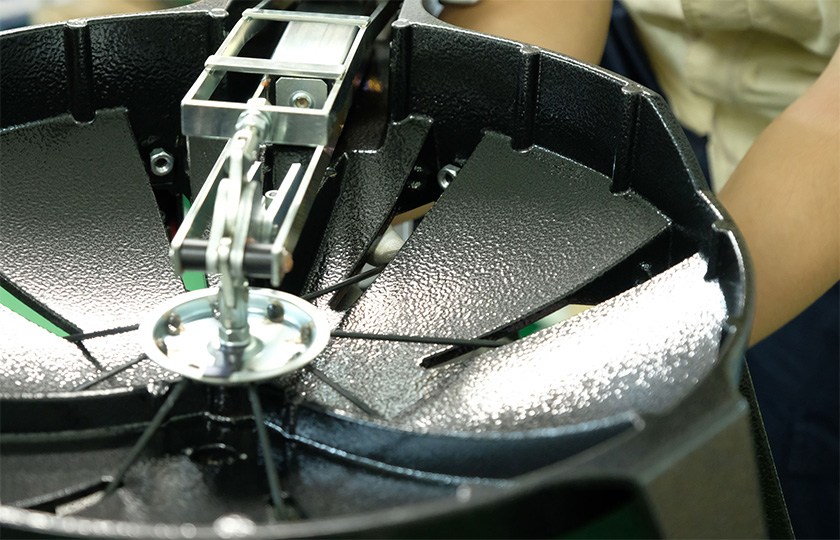
Assembly time! The heart of the timpani goes behind the base
The last part of manufacturing a timpani is assembly. The rear side of the base, or in other words the part that is closest to the floor is flipped over, and tension rods are passed through the round center hole and attached to the kettle in a radial pattern. This is what we consider to be the heart of the timpani, as this part plays the role of changing the pitch.
Adjusting the tension rod angles
The relationship between tension rods and pitch
The tension rods work together with the tuning rods to change the tension of the head. Tightening the angle of the tension rods will pull the head, which makes the higher pitches in the tonal range of the instrument sound more clear. However, this makes the pedal feel heavier. For this reason, we make fine adjustments to the tension rod angle, considering both sound and operability.

The black rods are tension rods
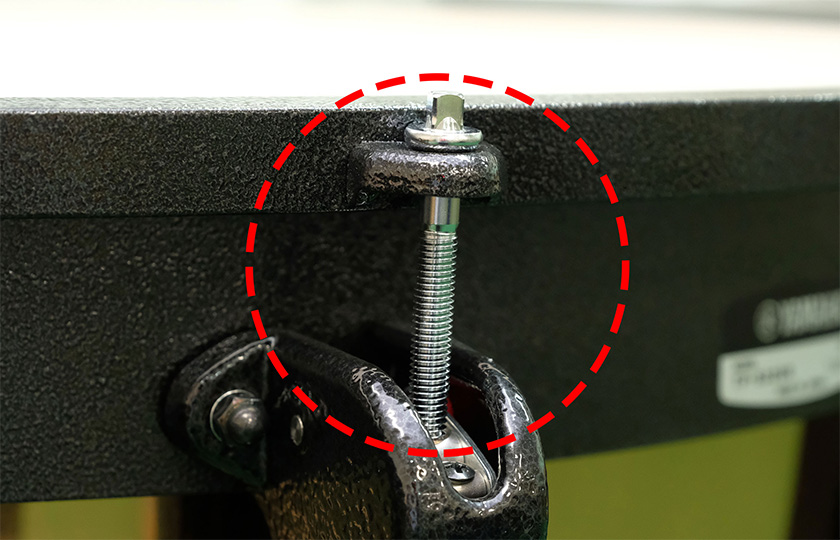
The silver rod in the center is the tuning bolt
The balance on all eight tension rods is adjusted precisely to make the head tension uniform. When even one tension rod is out of adjustment, the pedal will not move smoothly when it is depressed, which feels strange when playing.
After adjusting the rear, the timpani is turned over and the wire leading to the tuning indicator is connected. As with the brake on a bicycle, this wire runs through the timpani and is pulled when the pedal is depressed, which changes the reading on the indicator.
The kettle is set inside, and once the head is attached, the timpani is finished.
Finally, the tuning
To finish, we do the important job of tuning the timpani. With the tuner in one hand, the areas around the head tuning bolts are struck in turn and adjusted so that the drum makes the same pitch wherever it is struck.
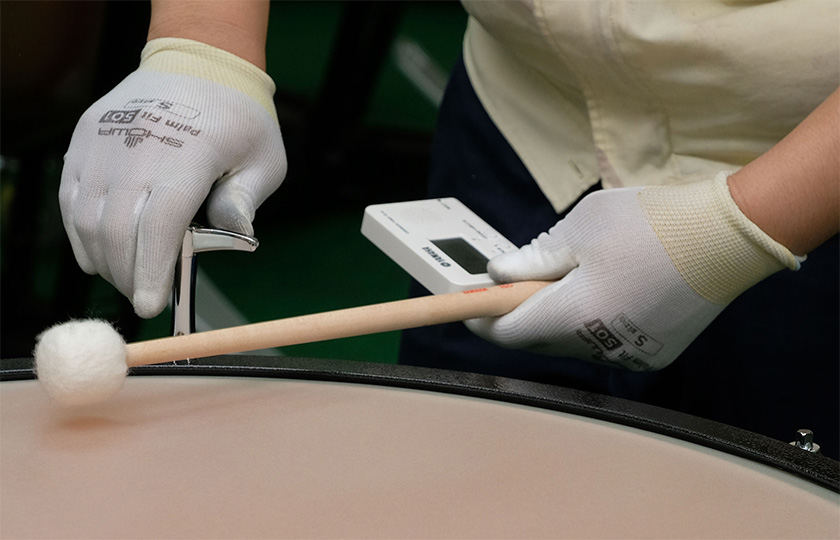
Carefully tuning the timpani