


見える・つなぐ・ヤマハ
ネットワーク機器の運用管理を簡単に

安定&継承
ヤマハが使い続けられる理由


-
ファームウェア
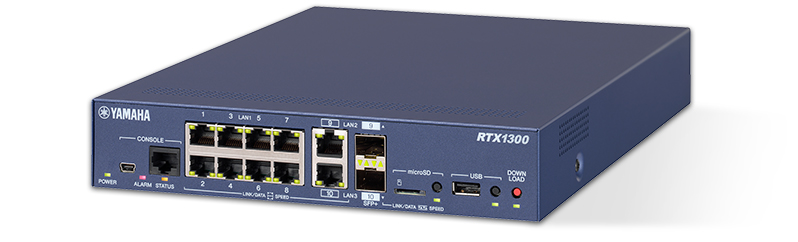
RTX1300用最新版ファームウェア(Rev.23.00.12)配布開始:IPv6マイグレーション技術の国内標準プロビジョニング方式 (HB46PP) に対応、および各種バグ修正
-
トピックス
[メンテナンス] ネットボランチDNSサーバーメンテナンスのお知らせ(2024/05/11 AM09:00~AM12:00)
-
トピックス
ファイアウォール「FWX120」用セキュリティーライセンス「YSL-MC120」の新規/更新ライセンス受付終了予定日のお知らせ
-
トピックス
「IPv6マイグレーション技術の国内標準プロビジョニング方式(HB46PP)」に対応したファームウェアを公開
-
ファームウェア
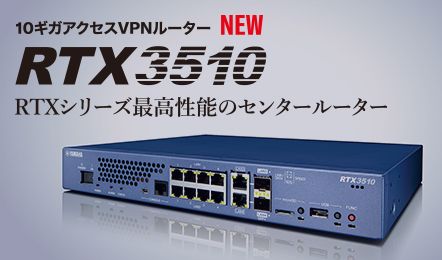
RTX3510用最新版ファームウェア(Rev.23.01.02)配布開始:IPv6マイグレーション技術の国内標準プロビジョニング方式 (HB46PP) に対応、および各種バグ修正
-
イベント・セミナー
「第15回 EDIX(教育総合展)東京」出展情報
日時:2024年5月8日(水)~10日(金) 10:00~18:00(最終日は17:00終了)
場所:東京ビッグサイト 西展示棟1・2ホール 業務支援エリア ブース番号:9-1
主催:EDIX実行委員会(企画運営:RX Japan株式会社) -
トピックス
【再掲載】ネットワーク製品価格改定のご案内