When you start the Yamaha Receiver Control Application you will be taken to the
Welcome to Yamaha page, also known as the Information page.
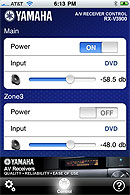
In this page you can select Set Yamaha zone control now, View Demo, Learn More, or Sign up for content from Yamaha Electronics.
Note: This application requires the use of a wireless Local Area Network (LAN) and a compatible Yamaha Network A/V Receiver residing within the same LAN.
Current Yamaha Receiver Control Application version xxxx supports the following Yamaha Network A/V Receivers sold in the USA and Canada:
 RX-V2065
7.2-Channel
Network Digital Home Theater


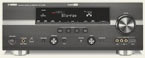
 RX-V3900
7.1-Channel
Network Digital Home Theater
 RX-Z7
RX-Z7
7.1-Channel
Network Digital Home Theater
We recommend that you install the latest firmware on your Yamaha Networked A/V Receiver prior to configuring this Receiver Control App. Locate your product and download the latest firmware version from
www.yamaha.com/hometheater and review the network firmware update procedure for your model.
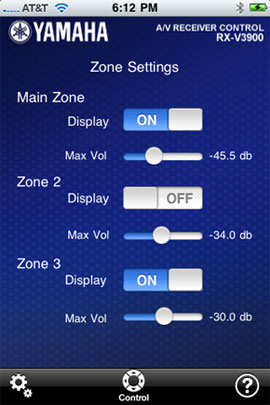
You should refer to your Yamaha Network A/V Receiver Owners Manual on the use and configurations of the Zone outputs using internal or external power amplifiers or any other functions provided by the A/V Receiver. Remember that only analog signals can be sent to the second and third zones.
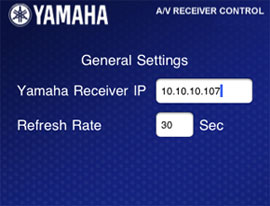
Once you have the latest firmware installed you will need to gather the IP address information from your Yamaha Receiver, as well as configure the NETWORK STANDBY MODE settings to the ON position that will allow you to use this Receiver Control App when the receiver is in the Standby Mode.
Required Network Receiver Information and Configuration:
Locate the Set Up Menu > Functions Setup > Network > Information
Network Information will provide you the IP information required to complete the setup process of this Network Receiver Control App.
Locate the Set Up Menu > Functions Setup > Network > Network Standby
Network Standby allows the receiver to accept or not accept controls via the network while the receiver is in the Standby Mode. Make sure that this setting is ON so that it can accept commands via the network.